Showing posts with label Starry Night. Show all posts

Saturday, June 22, 2019

Mixed media Owl


Happy Saturday everyone! Today I have a 5in x 12in Burlap canvas I created doing some step outs to show you !


First I started off using texture paste through a stencil to add foliage. 


Next I glued down resin wood slices from a Stamperia mould using Heavy gel


I grabbed Burnt Sienna Liquid Acrylic and Liquid Color fluid medium to lighten the color a bit. when using these paints on something with texture the darkness of the paint sits in those little crevices. Just perfect for a wood effect! One coat of paint was all it took.


I gathered some fallen sticks off my apple tree and glued those down as well.


I started adding paper leaves all through out the sticks and wood. The owl is from my stash and some mit form casting here and there. Now after the majority of things was all glued down and dry, I gave the whole thing a coat of clear gesso. I went with clear because I wanted to keep the natural colors seeping through.


Next I painted my owl, I gave him a coat of the burnt sienna with the fluid medium (fluid medium helps lighten your paint colors) just a few drops. I then went in with the same color without the fluid medium. I went around all his little feathers. I used the same colors on his eyes with thin soft stokes. then added some white detail.


Here I started on the sky I used my infusions powder pigments. Just a tiny sprinkle then spritz with water. I used a couple shades of green and blue.


 I took shades of yellow infusions and sprinkled the leaves. ( infusions has walnut crystals inside them, which gives you that brown color effect.) they really made the leaves look real.


Now I needed to use something that would sit nicely on top of the infusions. I grabbed my Liquid acrylics again. I wanted strong colors to make a nights sky I added little dabs with a paint brush the immediately sprayed them with water to get rid of the hard lines.I used blue pink and yellow.

I then took white acrylic paint, watered it down and splattered it on the sky.
 I also dry brushed everything to bring out all the little details. 

I added a resin bee from a prima mould some art stones, vintage art pebbles, glitter and nuvo crystal drops. adding all these little things in the branches and leaves. little details makes your projects look full and give a great finishing touch

I will have all the products listed below.


XOXO Nicole

Friday, November 10, 2017

Snow & Joy

Hello!! Jennalee here today. I have a fun step by step tutorial to share with you today. It all started with this vintage photo I found while out junking. The release of Tim Holtz's Christmas line really got me in the spirit to create some Christmas projects early this year. 


I started with a small size Etcetera Tag. These tags measure 5.5"x10" and are made of thick board. They are very sturdy and can handle a variety of mediums. I covered my tag with a piece of paper from Tim Holtz's Christmas Paper Stash. Adhere paper to tag with Distress Collage Medium. 


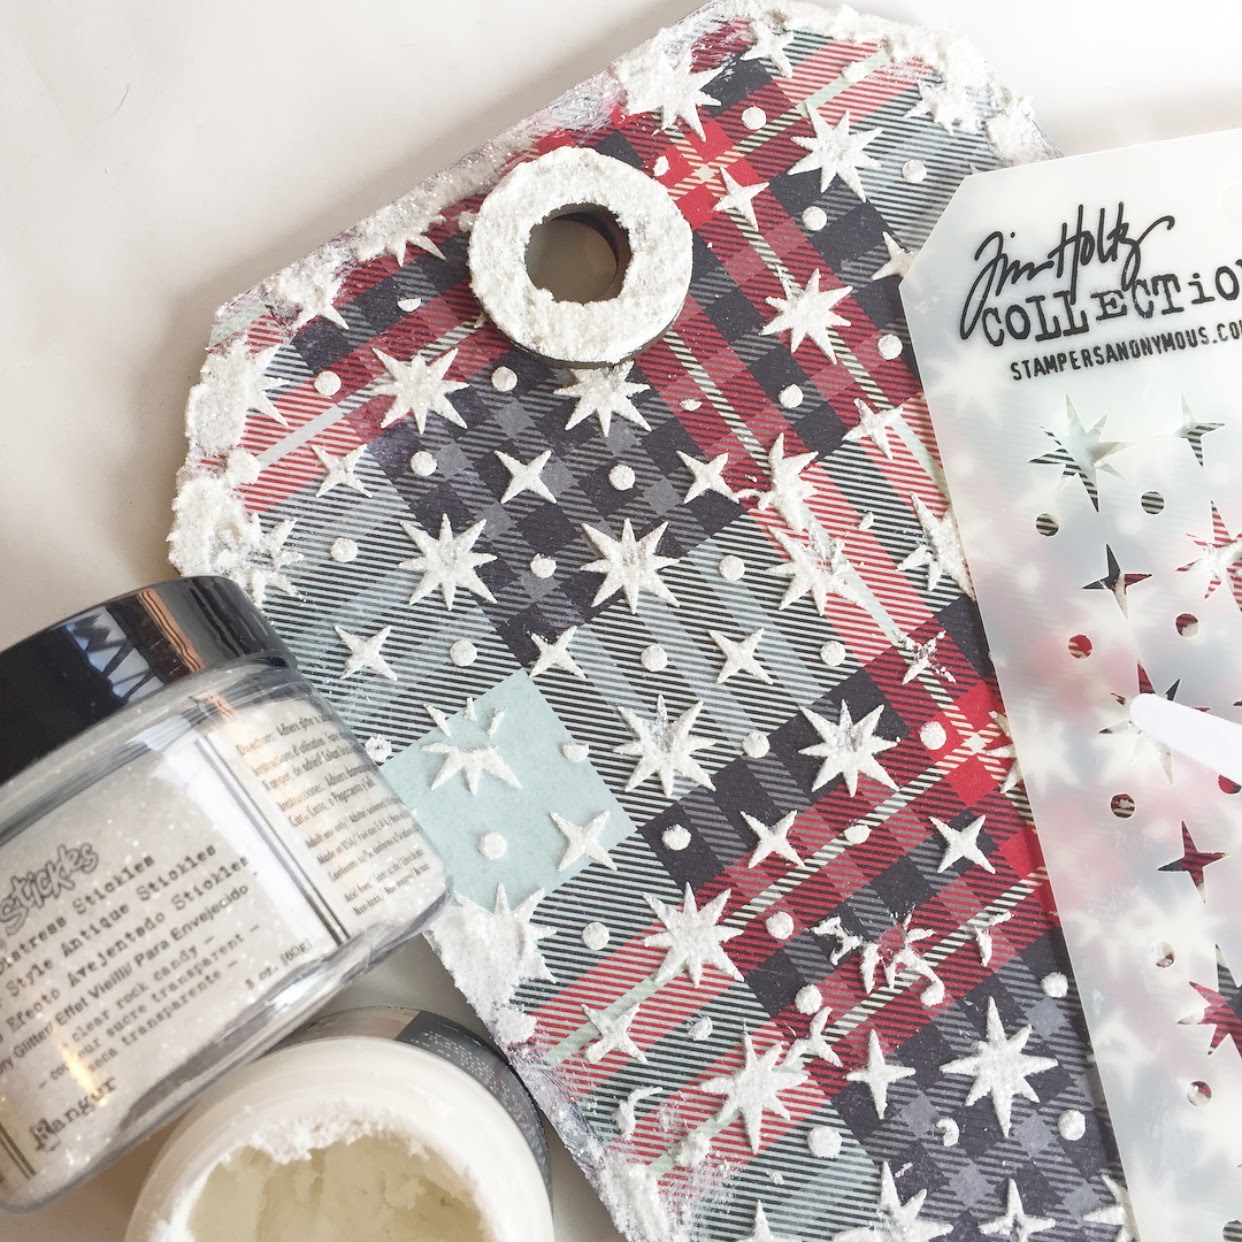
With a palette knife spread Grit Paste thru the Starry Night layering stencil. While the Grit Paste is still wet sprinkle on Rock Candy Glitter. I covered my entire tag with stenciled stars. I thought I had overdone it but once you start layering your ephemera you'll be glad you covered the whole tag.


Using your palette knife add some swipes of Grit Paste around the edge of your tag and to the reinforcer and sprinkle with Rock Candy same as before. Grit Paste needs to be air dried, so set your tag aside. Be sure to clean your stencil and palette knife while the Grit Paste is still wet. 


While your tag is drying begin prepping your picture. I made a photocopy of my original picture onto photo paper. It didn't look quite vintage enough so I added some aging using Antique Linen Distress Ink. Using a glue stick lightly tack down photo to piece of black cardstock. Stitch around edge of photo and trim down cardstock with pinking shears. 


 From the Christmas Ephemera Pack pick the pieces you wish to layer on your piece. The music piece is from the Christmas Bookboard Baseboards pack. To add some visual interest I added a strip of black text from the Paper Stash pad. Adhere all pieces using Distress Collage Medium. 


Cut a pair of Ice Skates from white cardstock. I adhered my cardstock to a thin layer of chipboard for some added definition. Tip: Save the chipboard pieces that come in your Myrustycrown.com orders. It is the perfect thickness for die cutting. You can even use it with some thin lit dies. 


Cover both skates with Distress Crazing Medium. Allow to air dry. Once your skates are dry add a bit of aging with Antique Linen Distress Ink. Color in heel with Distress Crayon. Paint blade of skate with Distress Paint. Using a needle and baker's twine lace skates and wrap laces around the top of skates and tie a bow. 


I am obsessed with Distress Crazing Medium. It is the perfect vintage touch. 


To decorate the skates cut some foliage from the Festive Greens thinlits set. Using Distress Oxides in Peeled Paint and Cracked Pistachio color cardstock. Smoosh ink pad on craft mat and spray with water, dip paper into ink and heat set. For the berries I used Beaded Berries colored with Distress Spray Stain in Picked Raspberries. 


Attach foliage and berries to skate. Adhere skates to bottom right corner of tag using Distress Collage Medium. Pick words from Christmas Words and Phrases Chipboard pack and adhere with Distress Collage Medium. At this point also attach the tag reinforcer. 


I hope you enjoyed this tutorial. I had so much fun making this piece and using Grit Paste and Rock Candy. It is such fun combination!! If you try making this piece for yourself or try any of the techniques I hope you will stop by and share it in the Facebook Group. Happy Creating~ Jennalee