Saturday, November 24, 2018

Moon Child Layout!

A day later then Normal, but Its here! A step by step of a sweet little Layout using the new Prima Moon Child Collection! 


This is gonna show tons of steps! Ready? LOL
I have the Moon Child Paper Pad in A4 size, SO what I did was took 2 papers and ripped them , Now I can piece them together to look like  12x12.


I adhered them down to a 12x12 piece of cardboard gave it all a clear coat of gesso and did some stamping in dark blue with Archival Ink. I used some Amazing Stamps from the store! I'll link them down below!


Bits and pieces from the collection I might use, the chip board bubbles are the new Pop ems Martina has in the shop as well, I used finnabair art pebbles and glues them down to the MC Ephemera pack to make my own embellishments.


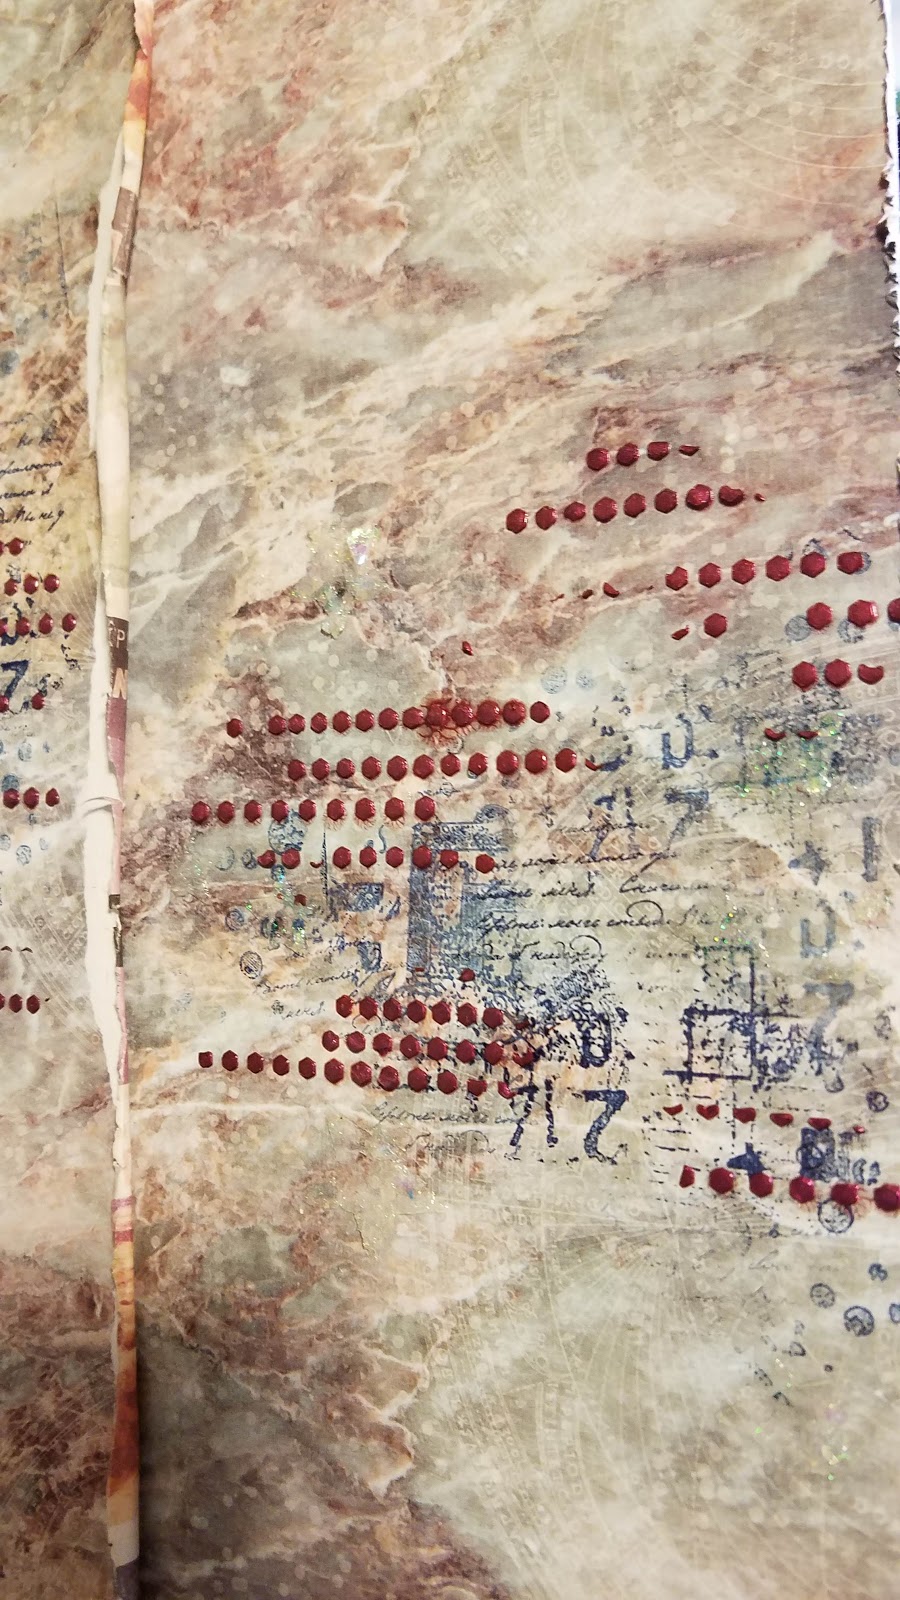
Close up of Stamping


Here I used the new Rainbow Pentart paste for the stars! they are gorgeous!


I also took the New Finnabair Icing paste and Mixed the Fire ruby color with the Amethyst to make a dark burgundy shade to better match my LO! these are so shimmery and creamy a must have!


view of what done so far!


So now I'm playing with my Lindy's stamp gang sprays. spritzing water then my colors 


Doing a layout is a lot of figuring out your layers and design. I cut out some flowers and more from the Ephemera pack to use as embellishments as well


Here I start Gluing! I used Sd Gel Medium to adhere everything


I also used some Resin pieces I made from the Stamperia Moulds also in the shop.


Those little galaxy flowers are adorable!


After all is in place I did some dry brushing to the flowers resin and embellishments to bring it all together and make everything flow.


I colored the moon blue with Lindy's sprays and also some dry brushing to bring out the detail!


Splash the page with white acrylic paint for my finishing touches! Splashing always makes me feel like it's complete!


Hope you all like it! XOXO Nicole!


Friday, November 9, 2018

Holiday Ornament Mixed Media Style!

Hey Ya'll! Happy Friday! Today I'm showing you this super easy step by step on how to make these super textured ornaments!


started off with this paper mache ball


Now I made some modeling paste skins with the new Stamperia moulds. I just added some 3D Matte Gel and stuck them on there in sections.they are easy to manipulate so tearing them with your hands is easy to do!


Next I added a couple resin snowflakes, heating them with my heat gun softens them so they become pliable and easy to form to the paper mache ball. Next I took a paint brush and added Stamperia Glass Paste to all my empty space. 


I left to dry about and hour, I then added black Gesso. I went with black for this beacause I wanted to use Finnabair opal magic paint. I used Violet Green. these paints are different colors depending on the base color, If I was to use White as my base it would have been more green.


Here you can see how the ball shines Violet and some green shining through! its a beautiful combination!


Lastly I added Finnabair wax in Vintage gold for highlighting. I made some bead strands and glued them down the hole on top! Thats it Thats all! Super fast and easy!  XOXO
List below of products you can find in the shop! 


Friday, October 26, 2018

4-1 Mixed Media Canvas!


Today I'm showing you How I created these four 10x10 panels They look awesome up on the wall! they cant be separated more and still look pretty darn cool but I didn't want to put tons of holes in my wall for the sake of pictures! LOL. I'll have a product list at the bottom like always!
First I Put my panels all together and grabbed my focal point ( Creative Expressions)  (Pop-ems Scene- Heart). This heart come in a neat little kit with nuts bolts,the heart and a Tag!  I layed my heart out and cut it up a couple more times to I could get Four section, one section for each panel.


Next I took these awesome new Texture Impressions molds made by Stamperia! I poured my resin and used them as my background, I ripped some so I had a little texture all over. I then added a light layer of Clear crackle paint to the empty spaces.


I gesso'd the whole thing in black and started to figure out my Composition, I Started with the hearts and build around those.


Another pic of me figuring it all out and starting to add more black Gesso to my embellishments.


The whole thing in a whole


Covered the whole Thing In Gesso ! Now its ready for color!


Here I start adding my Colors, Around the edges I Used Stamperias Mixed Media Aqua Color in (Water Green) the middle I start spraying with LB  (Ocean Mist) I dry all colors inbetween layering them, I use a brown and also  LB (Paprika) I was trying to replicate an old vintage Oxide look with out having to use paints, Sprays can get into all the nooks and crannys!


Now I just added all my extra bits! and my Finishing Touches, I went over the middle with Vintage Gold wax from Finnabair ( my favorite one). I then went over the whole thing with white gesso with a dry brush! I added some metals by Finnabair and splattered the heck out of it with white paint! 


Hope It gave you all Some Inspiration with the ) Pop ems and the Stamperia molds! XOXO Nicole

Product list:


Friday, October 12, 2018

Let loose Journal page

This week I decided to make my Journal page for the (Build A Journal) event we are having over at My Rusty Crown Inspiration Facebook group! I just Let Loose! Now I don't mind a chunky journal, I think it gives it some charm! My Partner is also a chunky layering person so I went with it!


I started with My 6x9 paper, I used mixed media paper so it would hold up good to all my mediums! I started off with stamping, I like to do this to get an idea of where I want to place everything, I used the 49andMarket stamp Pascales formula along with some other random stamps. ( I keep a pile of go to stamps on my desk that I like to grab for background stamping).


I then Cut Out my Elements so I could move them around and have them sitting by for color reference. I used these awesome dragons from the New Craft Box paper pad ( The Dreamer). I have the 6x6 pads. they are awesome size for journal pages!


Now I'm ready to start my process, I used some TH washi tape for texture and (background Noise) I then gave a white was of gesso to the page and used a Little Birdie stencil and modeling paste to add more texture!


Now I start adding some color using Cosmic shimmer,shimmer shakers I just keep sprinkling the powder and spritzing with water and drying in between colors. 


I took some black sewing thread and added that along with more stamping! I also took some colorsplash and lindy's sprays and went to town with splattering! (splattering Colors is an addiction for me)!


Here is a Stamperia Mould I used Some resin in,I used very little resin, paper thin. I didnt wait the whole 10 mins for it to cure, as soon as I was able to puul it out I did. the resin was still soft so I took scissors and cut the wings away from the heart. I color them with black gesso and give them a dusting of finnabair wax in (Blue Velvet)


Here Im rearranging How I want these places and gluing them together


This is it! Links below for Products Used!


And  link to our wonderful Inspiration group!