Wednesday, November 29, 2017

Welcome our new team member

Please join us in welcoming Nicole Palos to the My Rusty Crown Team.
You can find Nicole's work on her blog. She will be officially joining the team in January, so be on the lookout for her first post.
In the meantime you can find her on her blog or frequently posting in the My Rusty Crown Inspiration Facebook Group.


Thursday, November 23, 2017

Christmas book card


Hello dear friends!
It’s going to christmas and I’m creating a lot of christmas cards this days. Actually I promised one customer to show how I make especially the ”book looking” card. So, here comes both pictures of the finished card, and a video where you can see every step.


I have used following from My Rusty Crown:
 

Another paper doll pack that is very useful. 

Hugs Milo 


Friday, November 17, 2017

Giving thanks

Hi everyone,
Jess here today.

I have a quick and easy project for you today.  I love the new Tim Holtz Gift Card Holder die from Sizzix.  Thanksgiving and Christmas are right around the corner and gift cards make the perfect gift.
There are multiple thinlets in the set so I took photos so you can see what each piece is when I put it all together.

There is also a little gift tag die, but I didn't use that one.  I used the Tim Holtz Etcetera paper pad and Kraft core to cut my pieces.
I ran Pumice Stone ink around the edges of the patterned paper and Vintage Photo on the Kraftcore before I glued the pieces together.
Now I am going to work on my embellishments.  I will be using watercolor paper and Magenta's Nuance Powders.  The Nuance Powders come in little jars.  A little bit of this product goes a LONG way.  I poked a hole in the top of the jars using a push pin.  I get really good control this way.  When I am done the pin goes back in and keeps the powder from spilling. 
See those little speckles? That's a couple taps of the Red and the Scarlet Nuance Powder on dry watercolor paper.
This was with a spritz from my water bottle.  It looks kind of like fireworks.
This was with more water and a couple more taps. 
For this piece I used water and then added the powders, just to show you the difference.
I needed more than just red so I grabbed my Distress Oxides in Antique Linen, Fossilized Amber, and Vintage Photo.  I smooshed them on my craft mat and spritzed.  

Using the same watercolor paper I ran my paper through the inks.  Remember to dry between layers so you don't get mud!
I used my Sizzix Autumn Gatherings Strip die to cut out my leaves, acorns, and wheat. Be sure to ink the edges of your cut outs so you don't see the white.  I used Vintage Photo to ink mine.  
To color my paper dolls I used Distress Markers in Ripe Persimmon and Spiced Marmalade.  I just scribble right on the doll and move the color using a cotton swab.  
I clustered up some of the pieces and decided I needed leaves so I used my Nuance Powder Chartruse for color.  I used my Zip Dry to glue them down and added the "thanks" chit chat sticker.  
The bow was missing something and faux stitching was added using my Black Pen.  
The top just slides up and there are little notches to hold the gift card. 
The final touch was adding a vintage marker and acorn charm.   
I hope you try making your own.  


Friday, November 10, 2017

Snow & Joy

Hello!! Jennalee here today. I have a fun step by step tutorial to share with you today. It all started with this vintage photo I found while out junking. The release of Tim Holtz's Christmas line really got me in the spirit to create some Christmas projects early this year. 


I started with a small size Etcetera Tag. These tags measure 5.5"x10" and are made of thick board. They are very sturdy and can handle a variety of mediums. I covered my tag with a piece of paper from Tim Holtz's Christmas Paper Stash. Adhere paper to tag with Distress Collage Medium. 


With a palette knife spread Grit Paste thru the Starry Night layering stencil. While the Grit Paste is still wet sprinkle on Rock Candy Glitter. I covered my entire tag with stenciled stars. I thought I had overdone it but once you start layering your ephemera you'll be glad you covered the whole tag.


Using your palette knife add some swipes of Grit Paste around the edge of your tag and to the reinforcer and sprinkle with Rock Candy same as before. Grit Paste needs to be air dried, so set your tag aside. Be sure to clean your stencil and palette knife while the Grit Paste is still wet. 


While your tag is drying begin prepping your picture. I made a photocopy of my original picture onto photo paper. It didn't look quite vintage enough so I added some aging using Antique Linen Distress Ink. Using a glue stick lightly tack down photo to piece of black cardstock. Stitch around edge of photo and trim down cardstock with pinking shears. 


 From the Christmas Ephemera Pack pick the pieces you wish to layer on your piece. The music piece is from the Christmas Bookboard Baseboards pack. To add some visual interest I added a strip of black text from the Paper Stash pad. Adhere all pieces using Distress Collage Medium. 


Cut a pair of Ice Skates from white cardstock. I adhered my cardstock to a thin layer of chipboard for some added definition. Tip: Save the chipboard pieces that come in your Myrustycrown.com orders. It is the perfect thickness for die cutting. You can even use it with some thin lit dies. 


Cover both skates with Distress Crazing Medium. Allow to air dry. Once your skates are dry add a bit of aging with Antique Linen Distress Ink. Color in heel with Distress Crayon. Paint blade of skate with Distress Paint. Using a needle and baker's twine lace skates and wrap laces around the top of skates and tie a bow. 


I am obsessed with Distress Crazing Medium. It is the perfect vintage touch. 


To decorate the skates cut some foliage from the Festive Greens thinlits set. Using Distress Oxides in Peeled Paint and Cracked Pistachio color cardstock. Smoosh ink pad on craft mat and spray with water, dip paper into ink and heat set. For the berries I used Beaded Berries colored with Distress Spray Stain in Picked Raspberries. 


Attach foliage and berries to skate. Adhere skates to bottom right corner of tag using Distress Collage Medium. Pick words from Christmas Words and Phrases Chipboard pack and adhere with Distress Collage Medium. At this point also attach the tag reinforcer. 


I hope you enjoyed this tutorial. I had so much fun making this piece and using Grit Paste and Rock Candy. It is such fun combination!! If you try making this piece for yourself or try any of the techniques I hope you will stop by and share it in the Facebook Group. Happy Creating~ Jennalee 


Friday, November 3, 2017

Design Team Call


My Rusty Crown

Design Team Call ( 6-month term starting in January, with option to extend) We are an online store that specializes in craft and mixed media products

We are currently looking for 1 US based Design Team member.  Any applicants do need to be active on social media sites, including; Blogger, Facebook, Instagram, and Pinterest.
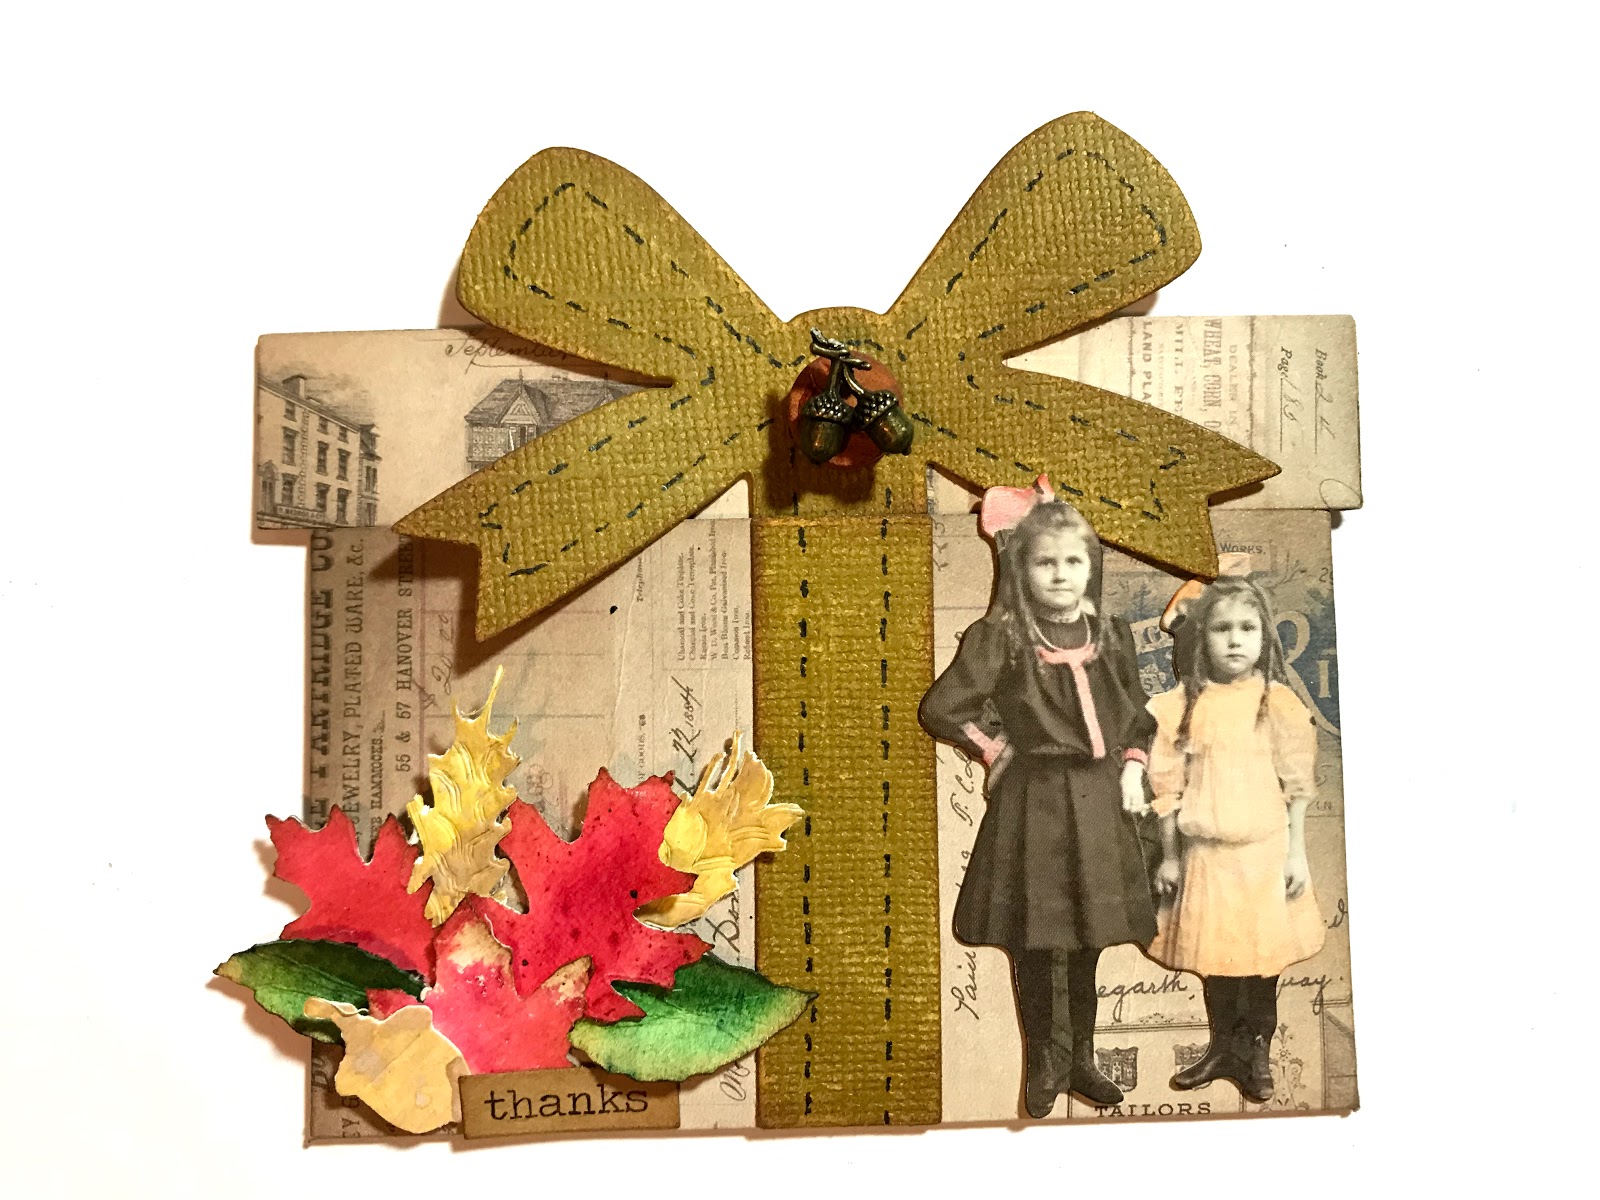
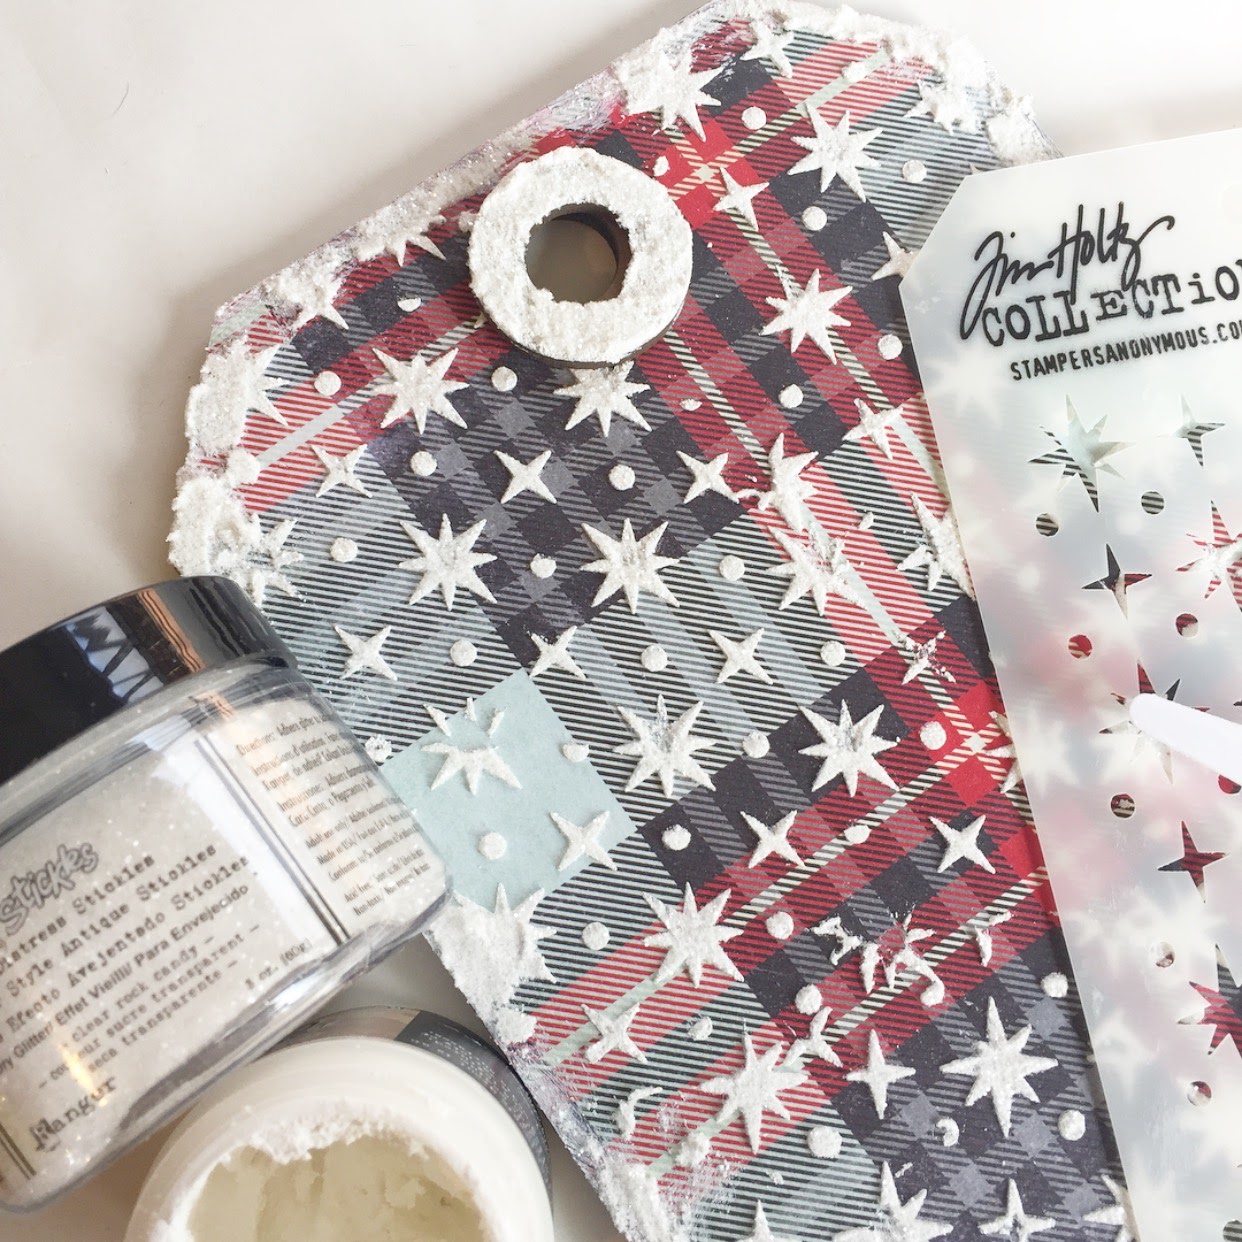
We are looking for someone who loves to make mixed media and rubber stamped projects. Must be enthusiastic and dependable.
What we expect:
-1 blog post a month with a full step out tutorial -mini posts highlighting the store throughout the month on your social media -you must have a personal blog.
-take great photos.
-upload to various Facebook pages.
-able to take directions from Team Lead and Store Owner What you will receive in return:
-A quarterly stipend to use for product in the store and product discount 
-Your name and photo linking to your blog to the My Rusty Crown 

To apply, please send the following:
1. Please email Jess at twomaddahlias@gmail.com with Design Team Call in the subject line. 
2. Please send photos of 3 projects you feel best showcase your abilities. 
3. Please provide a link to your personal blog, instagram, Facebook, Pinterest, YouTube, and any other other pertinent social media.  
4. Please provide a list of past and current teams.
5. Tell us a little bit about yourself and why you think you’d make a great member of the   Rusty Crown Crew.
We will be accepting submissions for the Design Team until November 17th. 

Good luck! We cannot wait to see what you have to show us!

Inspiration from our Facebook group

Are you part of the Inspiration group on Facebook? If not, you are totally missing out. There is so much talent there it is crazy! 
Here are just a few of the projects that have our jaws dropping.  

This burlap page in Delores Miller's Dina Wakley Journal is just stunning. we are loving the Gypsy vibe. 


This altered dress form makes our hearts beat just a bit faster.  Nicole Palos even has a blog post detailing how she created this beauty.  

Karen Keefer Orr made the cutest project with a little lesson from our very own Martina! 

So this is just a little taste of the talent you will find! Come and share your makes too.  We would love to have you.